In this tutorial, I will show you how to add stars to your photos in a few easy steps using Topaz Labs Star Effects.
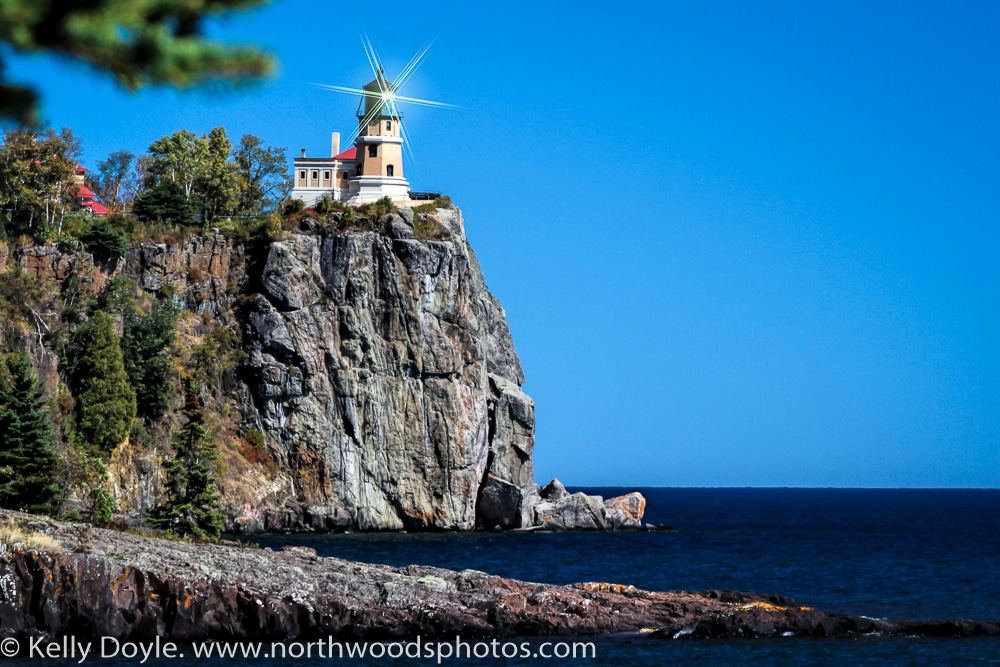
Split Rock Lighthouse
Image Preparation
First, you will need to do any basic edits in your regular photo editing software. Topaz Star Effects works as a plug-in to Photoshop or Lightroom and is not a stand alone product.
Edit Your Image In Topaz Star Effects
When you first bring your prepped image in to Topaz Star Effects, you will notice three main areas of the screen. The left column shows the presets and the smaller image at the top of the stack gives you a preview of each preset as you hover over it. The large middle screen is what’s happening with your image as you apply the actions that you choose. For this particular image, I chose the preset “Lamp Post One” and at this point it looks like a hot mess.

Now go over to the panel on the far right side of the screen. Under “Star Settings” you can choose different star types. For this image I went with traditional.
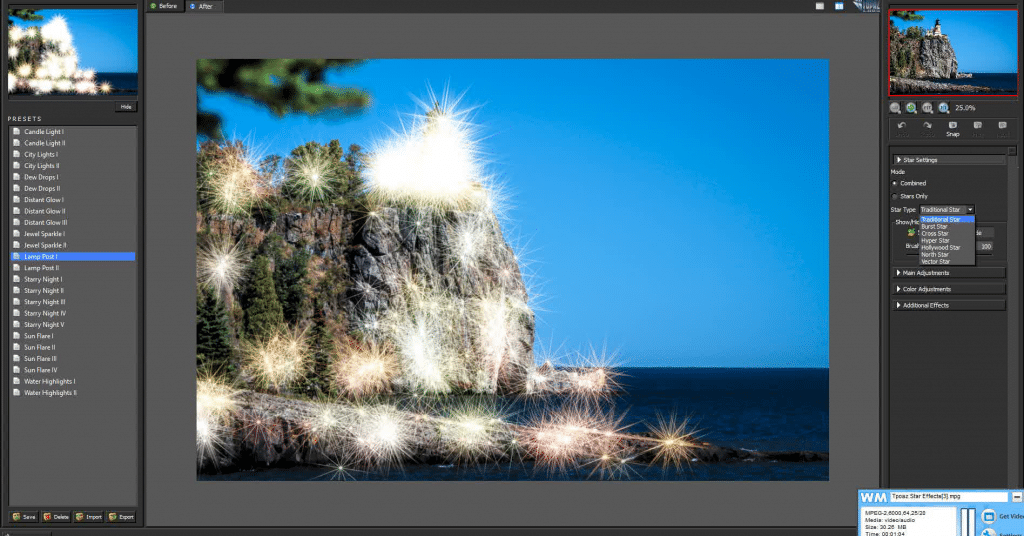
Further down on the right side are the “Main Adjustments” – take the threshold slider all the way to the right. I think of the threshold as being similar to an opacity slider for a layer mask. Bringing it all the way to the right will hide all of the star effects.

Go back up to “Star Settings” and you’ll notice there are show / hide stars buttons. Choose “show.” This will act similar to a brush on a mask in Photoshop – your mouse will look like a small button with crosshairs and anywhere you click on the image will allow the star effect to show through. In this image, I clicked on the reflector inside the lighthouse window so that only the one star shows in the image.

You can fine tune your star effect further by going back down to the main adjustments and playing with luminance, how many points you want your star to have, size, spread, angle, etc. Further down on the right side there are even more adjustments for color, temperature settings, and additional adjustments for glow or ring flare. For this image, I only adjusted the number of points from twelve to six and I was done in minutes!

I find all of the Topaz products fun and easy to use – and I can do many things in a fraction of the time it would take in Photoshop. So, if you want to add stars to your photos in a few easy steps, give Topaz Star Effects a try! They have FREE 30 day trials on all of their software, and updates for each product are free for life 🙂
If you’d like to purchase a print of this image of Split Rock Lighthouse for your home or office decor, it’s now available in the Landscape gallery both with and without the star effect!